DIY CLAY STAR ORNAMENTS

DECOR
DIY Series
DIY CLAY STAR ORNAMENTS
I looked everywhere for star shaped christmas ornaments this year and couldn’t find them anywhere. I stumbled upon a instagram post about air dry clay and I thought to myself, I could try and create some myself using air dry clay and lucky for me, it was a complete success and so easy to do.
WHAT YOU’RE GOING TO NEED
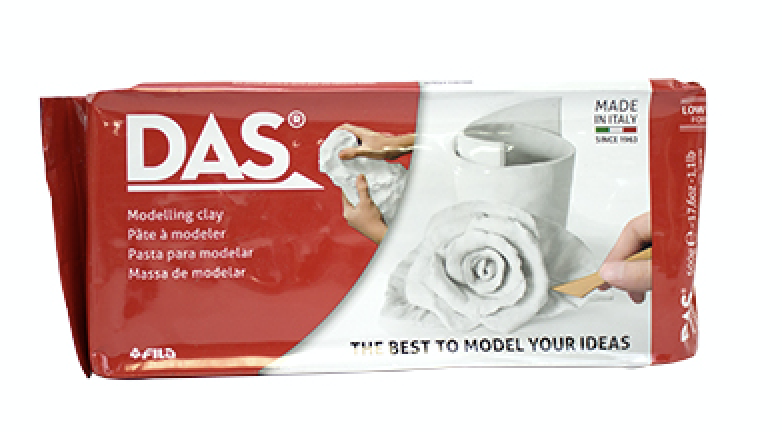
1 block of white air dry clay ( I purchased mine at opus art supplies)
1 rolling pin
1 silicon baking mat
1 small star cookie cutter
1 thin staw
1 roll of thin jute twine
1 pair of scissors
STEPS
Step one — wash your hands before handling the clay.
Step two — lay out a clean silicon baking sheet.
Step three — 1/2 a package makes about 10 stars. Cut as much off as you wish to make.
Step four — roll out until about 1/4 - 1/2” thick
step five — use the star cookie cutter to cut out star shapes
step six — use straw to create a whole in the top of a star point to put your string through later
step — lay flat to dry on the baking mat overnight rotating a few times
step eight — thread jute twine through small whole once completely dried, double knot, snip the ends and hang from your Christmas tree.
*** if you have left over clay, make sure to keep it in a sealed ziplock bag to ensure it doesn’t dry out and you can use it for another project.


