
SUGAR COOKIES
RECIPES
SUGAR COOKIES

RECIPES
SUGAR COOKIES
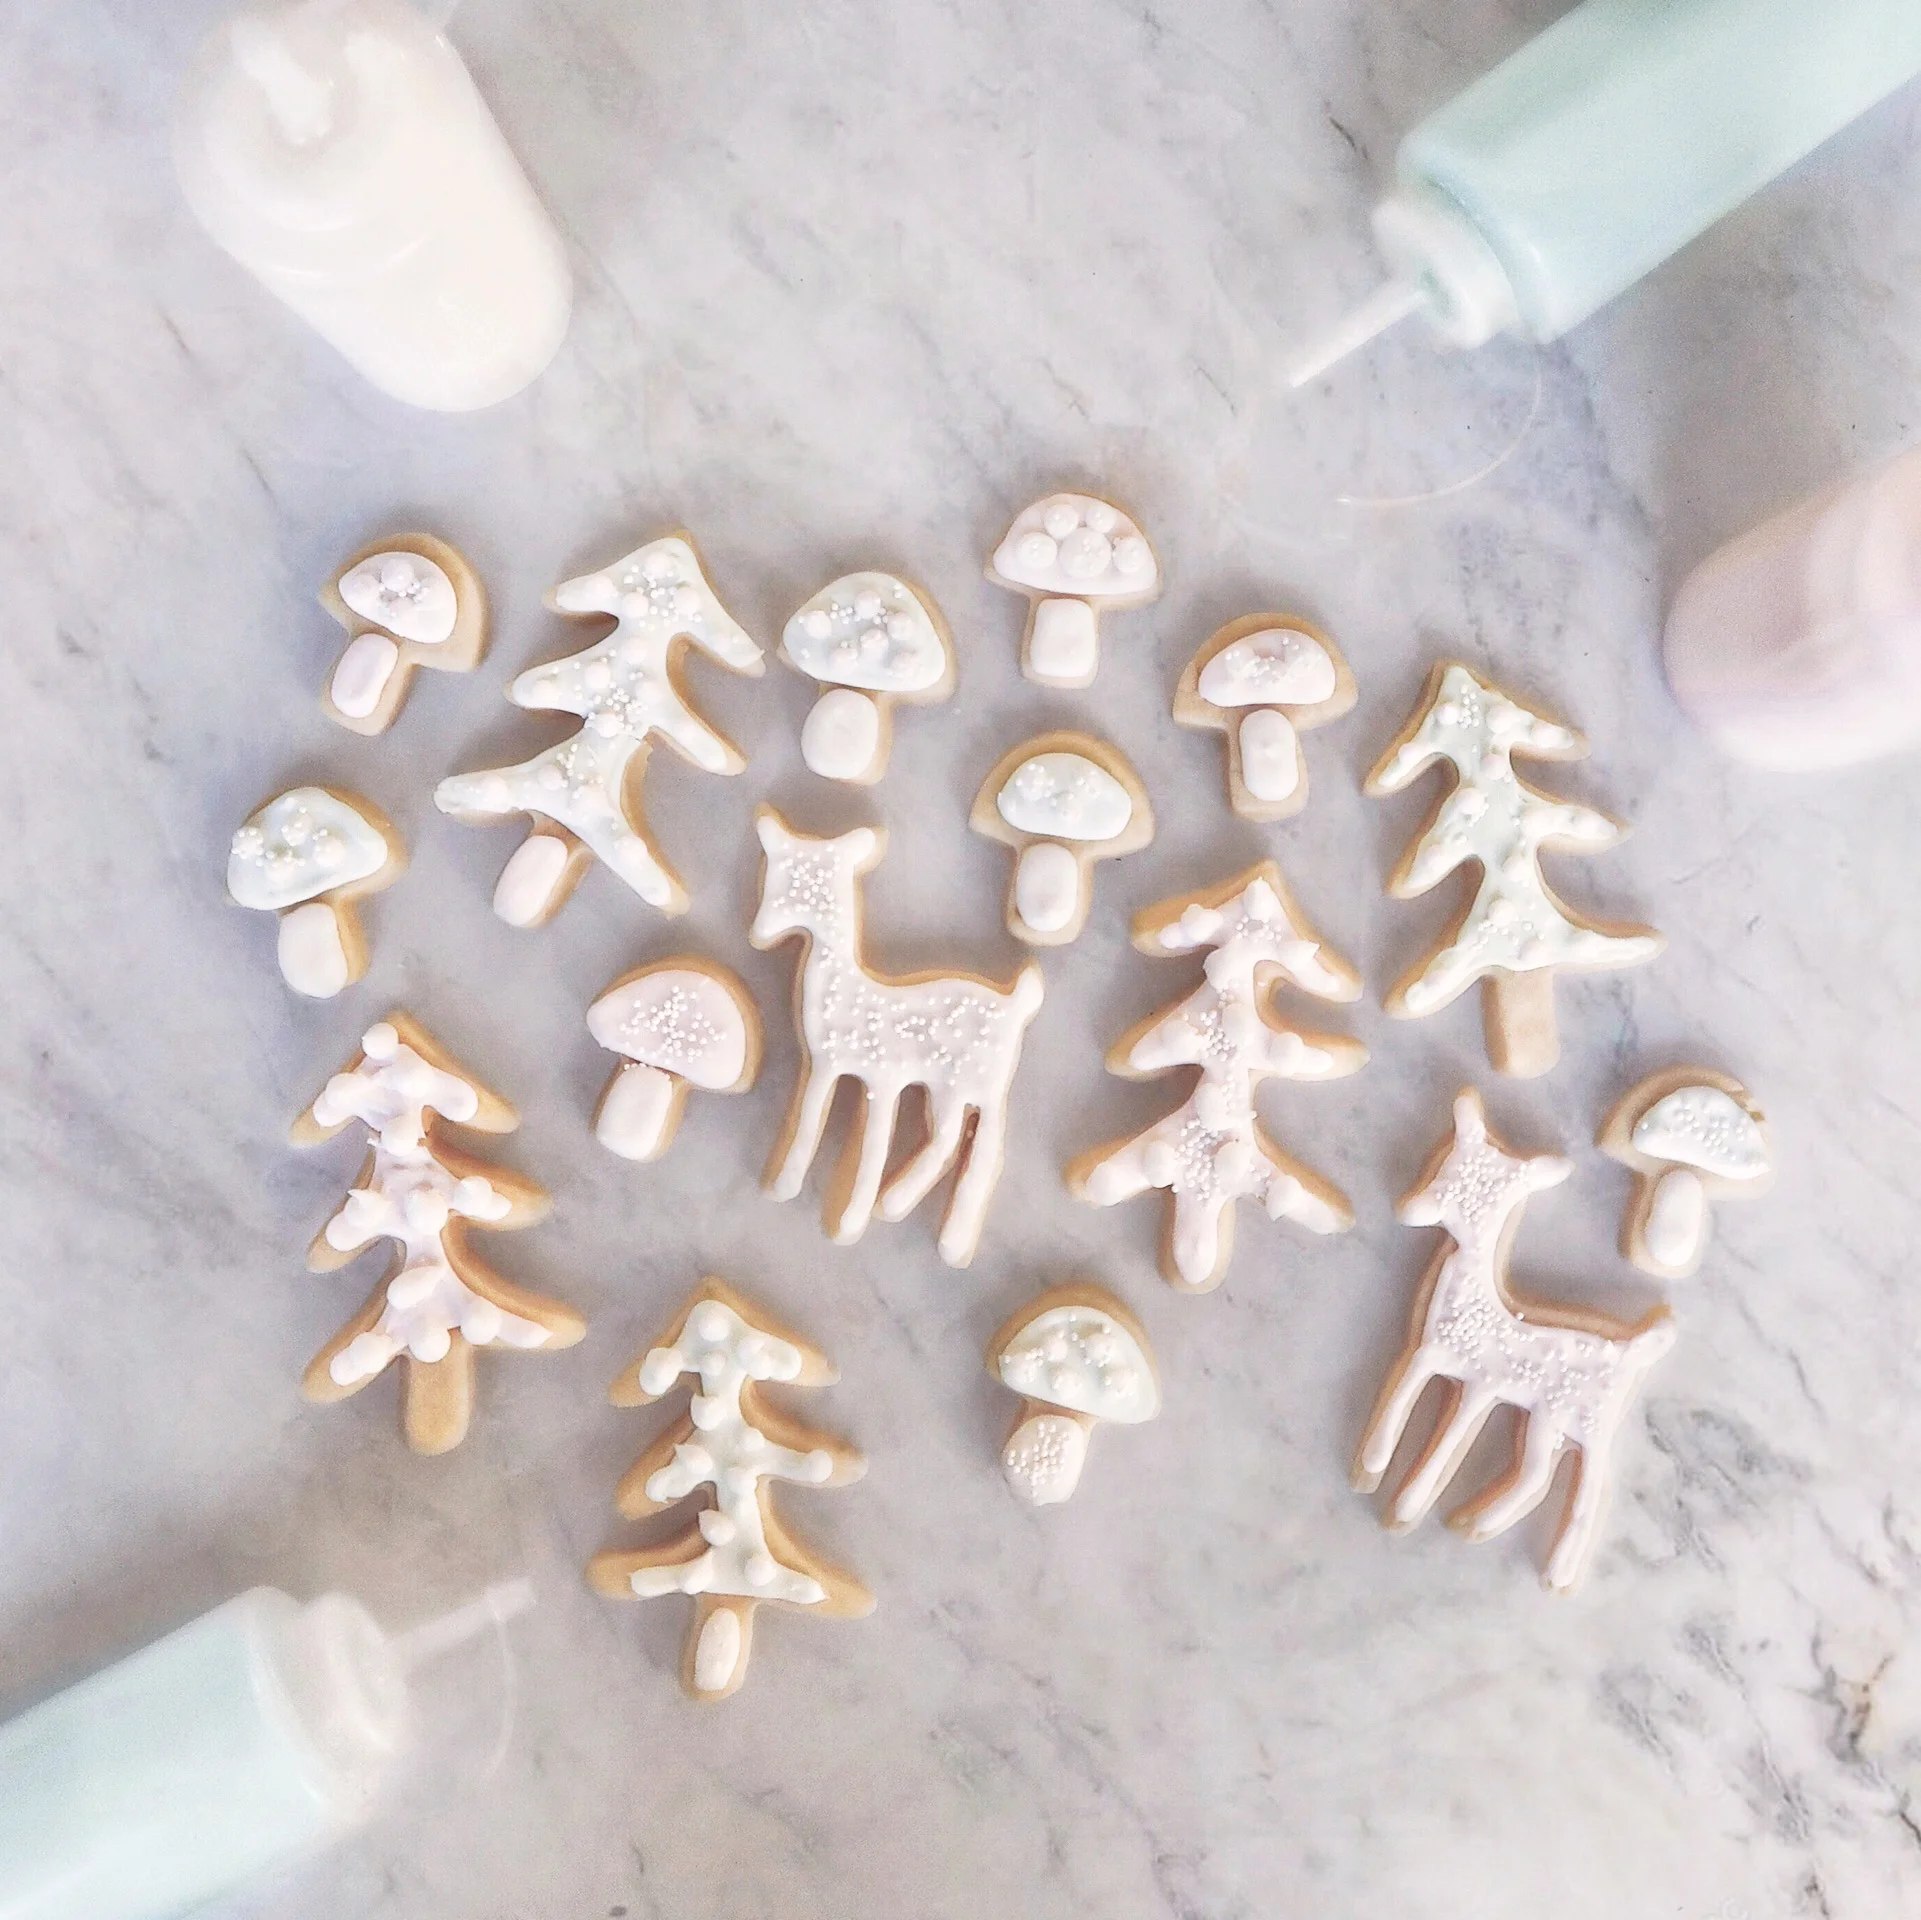
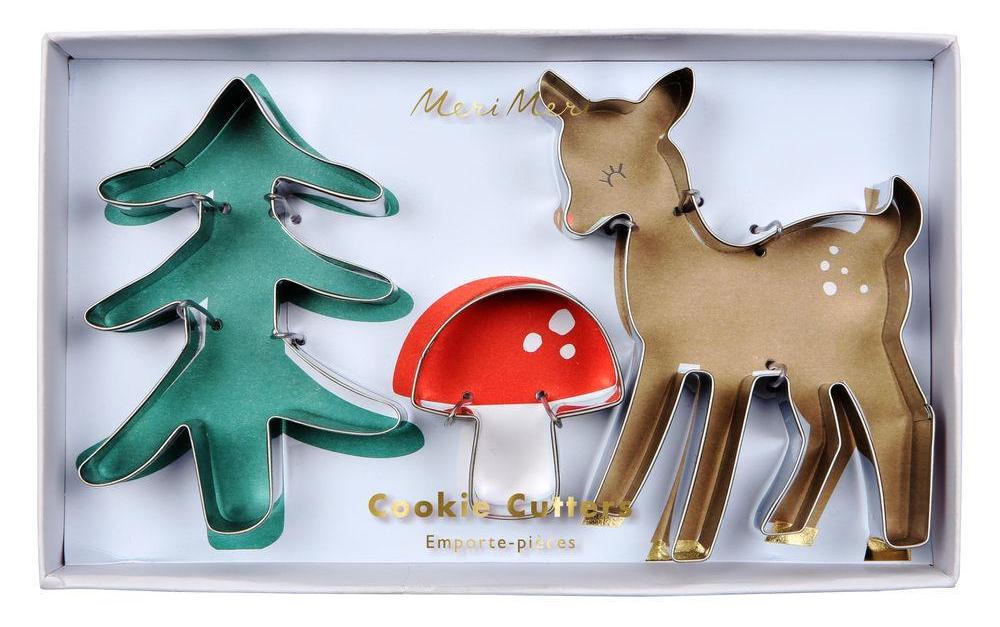
I picked up these cute deer, tree and mushroom cookie cutters last year (they’re made by meri meri, one of my favourite party supply brands. You can buy their products at the party store in Londsdale and at the Cross downtown.) after Christmas and have been itching to try them out ever since.
This year, I watched a ton of videos on how to properly make Royal icing to flood the cookies, how to apply it to the cookie and how to die the icing properly. I’m sharing the cookie recipe I found below which worked perfectly, along with the royal icing recipe.
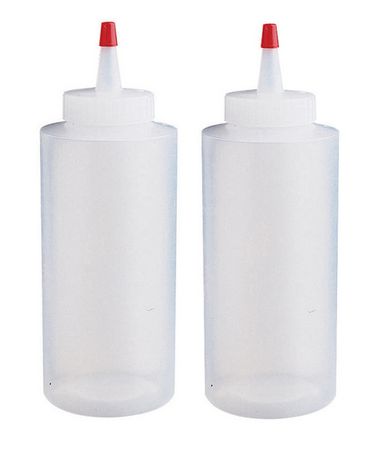
The cookies are so delicious, they came out a perfect light brown and are so soft and chewy, not brown and crunchy. The flood icing was also so easy to make and worked so well! We used clear bottles that I bought at walmart instead of piping bags and they worked swimmingly. They really helped keep the mess to a minimum.
SUGAR COOKIES
Recipe from two sisters crafting, they’ve got a great video on their page too, that helps make sure everything you’re doing looks the way it should. I highly recommend giving it a watch.
INGREDIENTS
2 cups Sweet Cream Salted Butter (softened)
2 cups Sugar
2 Eggs
2 tbsp Vanilla
4 tsp Baking Powder
6 cups Flour
tools
Silicon baking sheet ( I used three, which turned out to be super helpful)
cookie sheet
cooling rack
Rolling pin
parchment paper
cookie cutters
toothpicks
large bowl
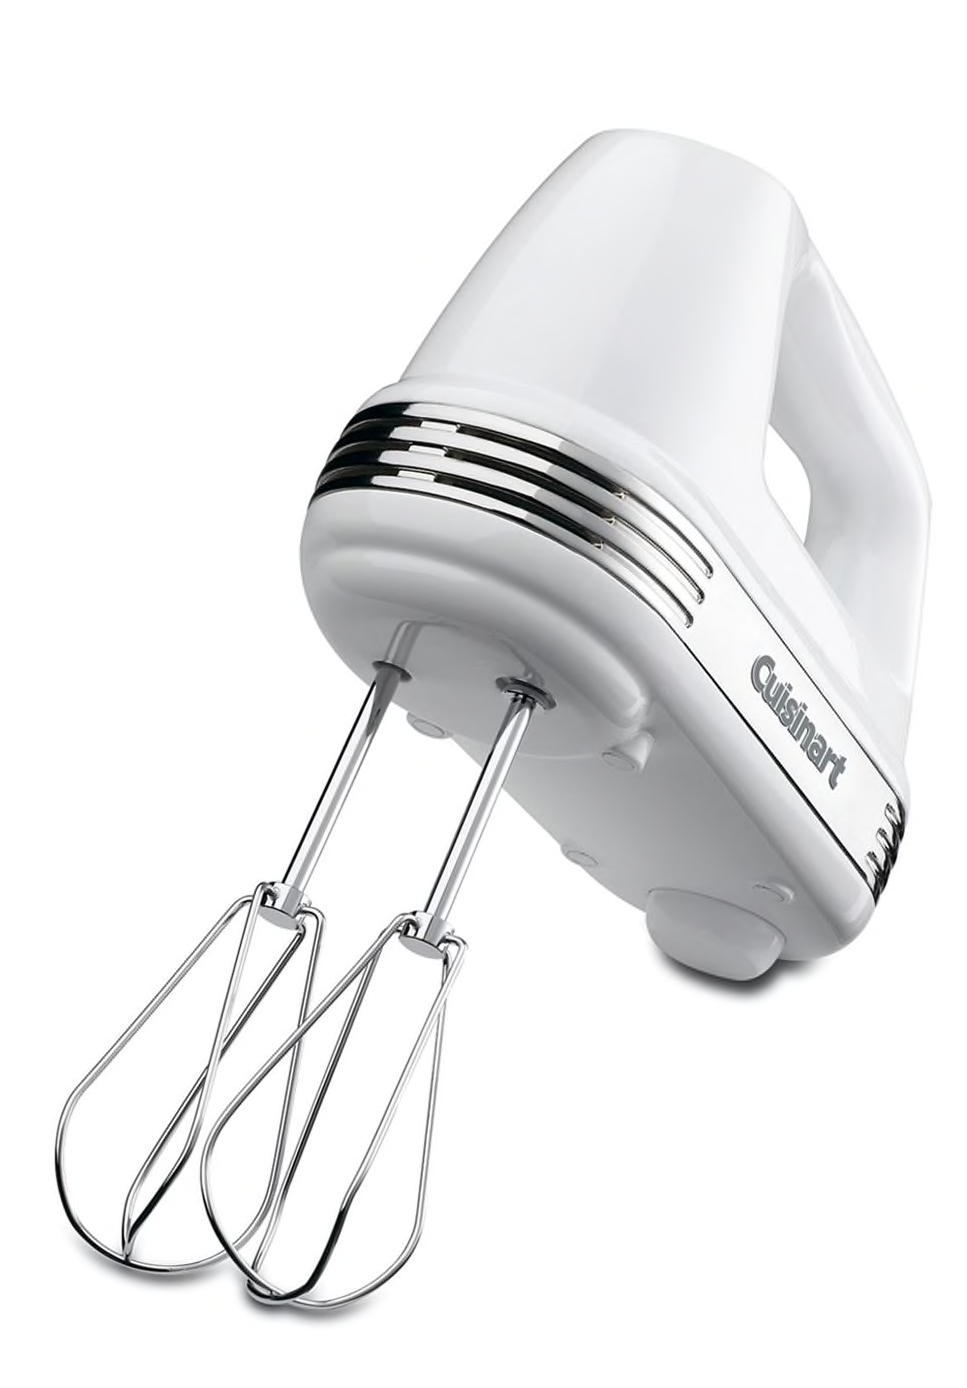
kitchen-aid hand mixer (makes the process 100x faster, easier and less messy)
DIRECTIONS
Remove butter from the fridge about an hour to two hours before you want to start baking.
Heat your oven to 350 degrees.
Add butter and sugar to a large bowl. Use a hand mixer to beat the butter and sugar together. Do not over beat. Stop when they’re well combined and smooth.
Add vanilla and eggs and mix completely
Add Baking Powder and mix
Mix in two cups of flour at a time
The cookies will bake better if the dough is at room temperature. So if you put some dough in the fridge to bake later, make sure it reaches room temperature before you begin to bake with it.
Roll a handful of the dough out on a prepared surface. Sprinkle the dough and polling pin with flour before rolling out the dough. Do this each time you roll out the dough. Roll it out until it’s about 3/8″ thick and cut out shapes with a cookie cutter. I put a sheet of parchment paper down on my counter and rolled the dough out on that to keep it super sanitary and to keep the mess to a minimum.
A good tip my future mother-in-law gave me was to dust your cookie cutter in flour before cutting the dough, it helps the cookie fall out of the cutter easier. I also used the long flat end of a toothpick to push the cookie out gently if it was being stubborn.
Bake at 350 degrees for 6-8 minutes depending on the size of the cookie. Do not over-bake. I put them in for 6 minutes at first to make sure they didn’t burn and then put them in for another 2 minutes.
Put them on a cooling rack and allow them to cool fully before decorating them with icing.

ROYAL ICING
Recipe from chatelaine they’ve got a great video on their page too, that helps make sure everything you’re doing looks the way it should. I highly recommend giving it a watch.
I doubled this recipe when I made it so there was enough to fill 4 bottles of icing. I wanted to have a variety of colours and enough bottles so that everyone could work on their cookies at the same time.
INGREDIENTS
3 egg whites
1/4 tsp white vinegar
5 cups icing sugar, sifted
tools
kitchen-aid hand mixer (makes the process 100x faster, easier and less messy)
clear squeeze bottles ( I bought mine at walmart for 1.50 each) Get a bottle for each colour you want to use.
toothpicks
food colouring. ( about $5 CAD at Walmart)
DIRECTIONS
Beat the egg whites and vinegar until foamy in a large bowl using an electric hand mixer. Add 2 cups of icing sugar at a time and mix until combined. Increase speed to high and beat until dense and thick but foamy, about 3 to 7 minutes.
Stir in 2 to 4 tbsp cold water to thin the icing out to desired consistency.
If you’re adding food colouring, transfer the desired amount of icing to another bowl. Dip a toothpick into the die colour of choice and add dip the toothpick into the icing. Use your hand mixer to combine the dye and icing. Do this until you reach your desired colour. I just dipped my colour in once because I wanted the colours to be very light. Transfer to a clear squeeze bottle and set aside until you’re ready to ice your cookies.
Finally, look for inspiration on how to decorate your cookies. You can check out my pinterest board here if you want some of the inso I used.
Now, ice ice baby and enjoy. If you can manage, save a few for Santa to enjoy with a big glass of almond milk. I’ve heard he loves unsweetened vanilla.
Merry Christmas !
TOOLS
RECOMMENDED


